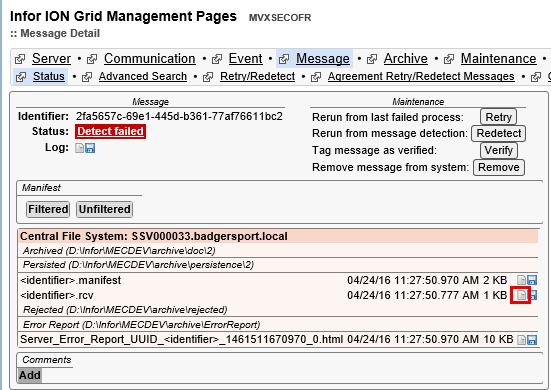
In my previous post we learnt how to set up a partner agreement and we used channel detection to identify the input file and trigger a MEC process.
Channel detection is really useful in integrations where the 3rd party application does not have the capability of generating customized XML files or only has the capability of generating flat files. However, this detection method becomes little bit inconvenient, if there is a huge number of different integration points. Then for each integration point, separate input channel should be configured (separate input folders as well) and managing a huge number of input channels would become a nightmare.
But, what if we can read the data inside the input XML file and detect the file and trigger different MEC agreements based on its contents. It would be really cool, isn’t it? Partner Administrator provides this capability through XML detection.
Consider below XML that is coming from the Customer Portal (example from previous post).
<CustomerPortalRequest>

    <RequestHeader>
        <Environment>TEST</Environment>
        <Entity>CustomerOrder</Entity>
        <Operation>Create</Operation>
    </RequestHeader>

    <RequestBody>
        <CustomerOrder>
        </CustomerOrder>
    </RequestBody>

</CustomerPortalRequest>
Let’s assume that customers can update their address details from the customer portal. These address details are updated in M3 through MEC. In this case, MEC should be able to differentiate a Customer Order Creation request from a Delivery Address Update Request. We can easily do this using XML detection based on the values in Environment, Entity and Operation nodes. We can pass Address in Entity node and Update in Operation node.
<CustomerPortalRequest>

    <RequestHeader>
        <Environment>TEST</Environment>
        <Entity>Address</Entity>
        <Operation>Update</Operation>
    </RequestHeader>

    <RequestBody>
        <CustomerAddress>
        </CustomerAddress>
    </RequestBody>

</CustomerPortalRequest>
For this first we need to create a new XML Target Group.
Creating New XML Target Group
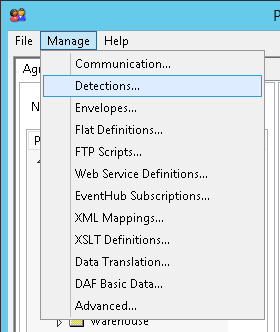
- Go to Partner Administrator Tool and go to Manage → Detections
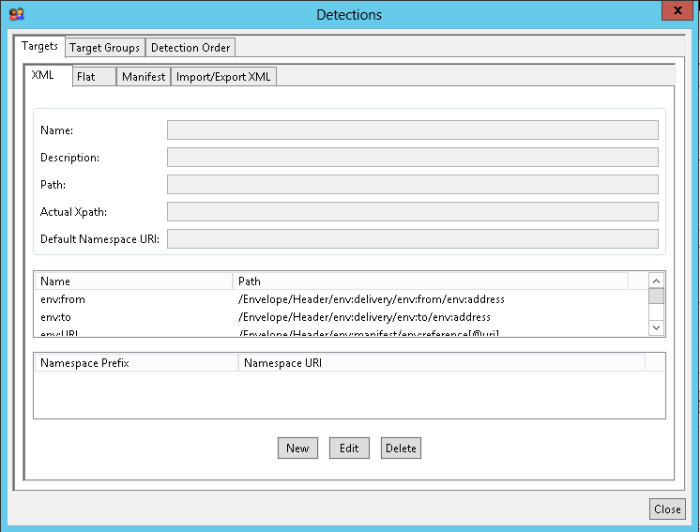
2. In Detections window go to Targets → XML tab. Here we need to define absolute Xpaths of the nodes (XML Targets) that we are going to use for XML detection. Click New.
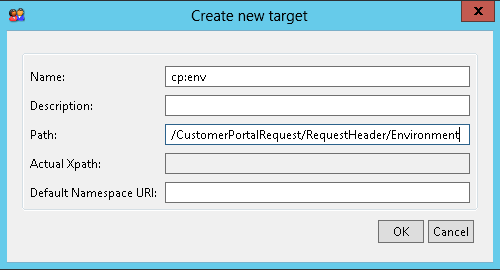
3. First we create a XML target for Environment node. In Create New Target window, enter the name as cp:env (you can enter any name here). In the Path textbox enter the absolute Xpath to the Environment node (/CustomerPortalRequest/RequestHeader/Environment). Click OK.
4. In the same way, create XML targets for Entity and Operation nodes as well.
- cp:entity – /CustomerPortalRequest/RequestHeader/Environment
- cp:operation – /CustomerPortalRequest/RequestHeader/Operation
5. Now we need to define a Target Group by adding the above XML targets together. Go to Target Groups → XML tab and click Create Group.
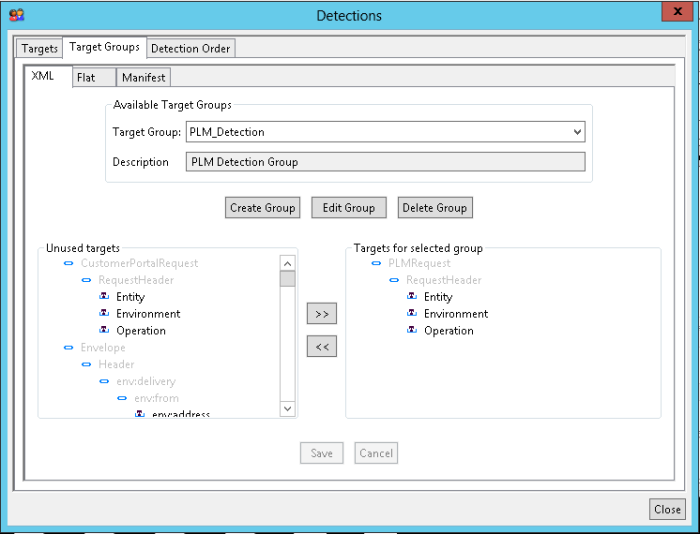
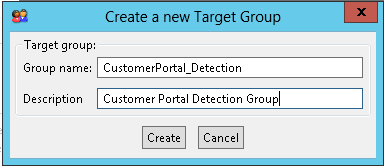
6. In Create New Target Group window, give the group a name and a description. Then click Create.
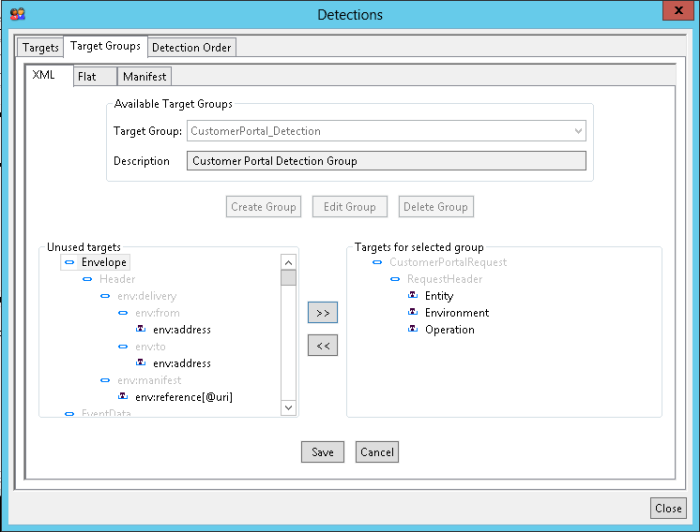
7. Once the target group is created, we need to add targets to it. For that, add required targets from unused targets.
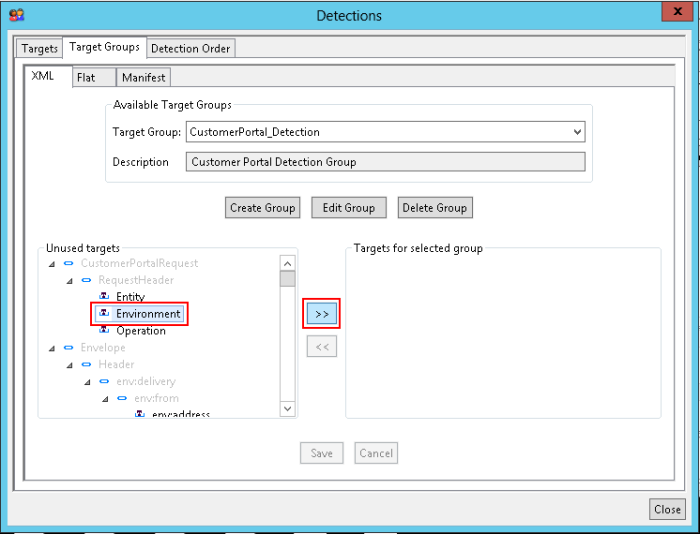
8. In this case add all three targets we created in step 3 and 4. Then click Save.
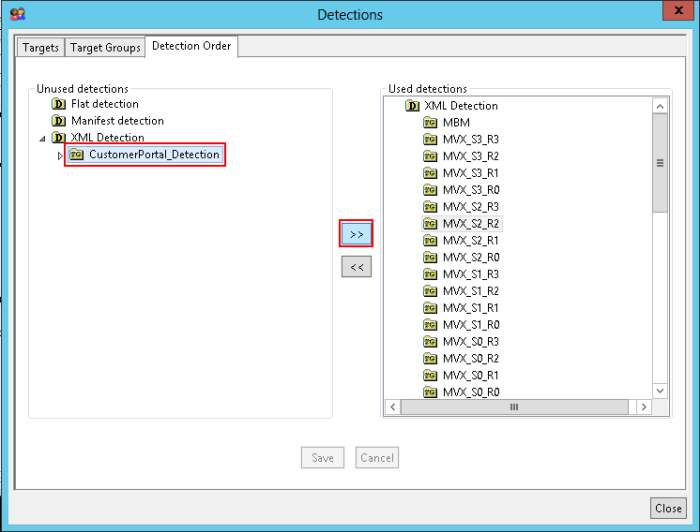
9. Now we need to add this newly created Target Group to the XML Detection List. Go to Detection Order Tab and add CustomerPortal_Detection to XML Detection List. Click Save.
Note: Make sure that your detection group is not shadowed by any other existing target group by changing the Detection order as required. Let’s say we created another target group (CustomerPortal_Detection_01) using only cp:env and cp:entity targets. This new target group should be placed after CustomerPortal_Detection target group in the order, unless CustomerPortal_Detection target group will never be reached during a detection since it is shadowed by CustomerPortal_Detection_01.
10. Close the Detections Window and go back the Partner Administrator.
Now you are ready to use this newly created XML Detection Target Group in your Partner Agreements.
Creating a Partner Agreement Using XML Detection
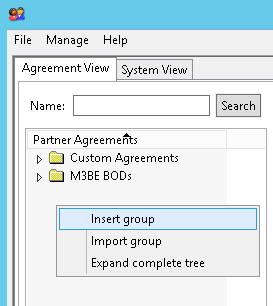
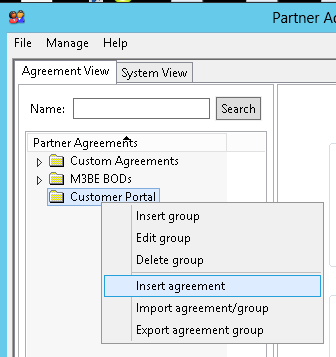
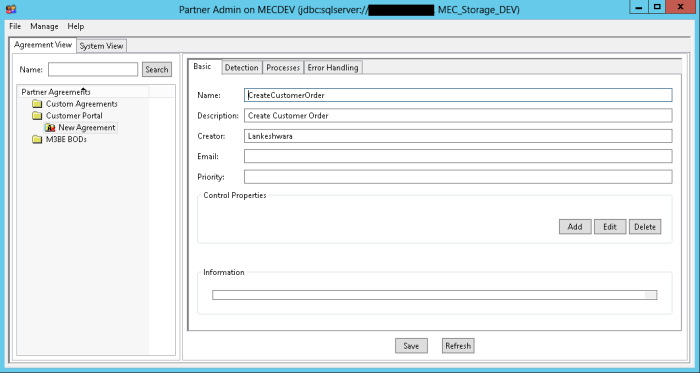
1. Create a new Partner Agreement.
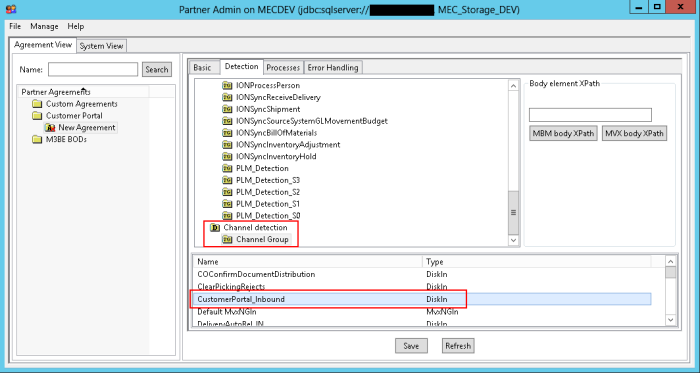
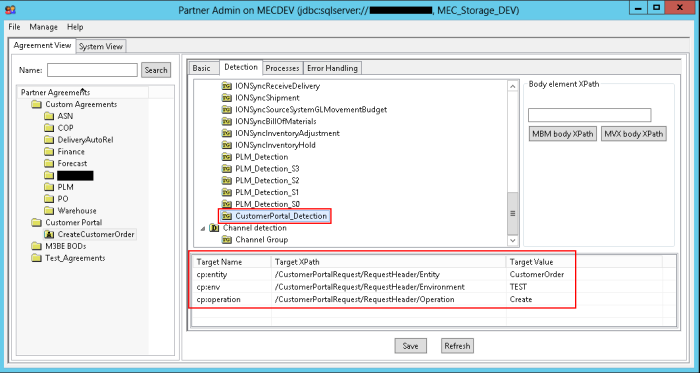
2. In Detection Tab under XML Detection Click on CustomerPortal_Detection.
3. Then put Target Values for each XML target of the Target Group. In this case we need trigger current Partner Agreement for the New Customer Order Creation request. Therefore, according to the format of Customer Order Creation Request, cp:entity and cp:operation should be set to CustomerOrder and Create respectively.
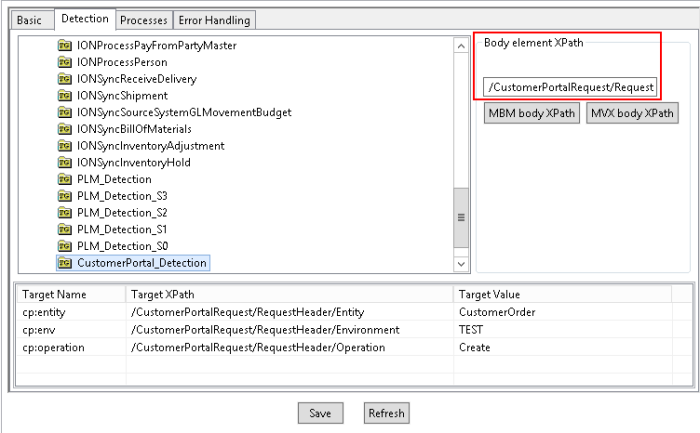
4. In Body Element Xpath, you can define which part of the input XML should be used in XML Transform process (This will be discussed in the future). In this case, I need only the content in RequestBody node. Therefore, I will put /CustomerPortalRequest/RequestBody as the Body Element Xpath and click Save.
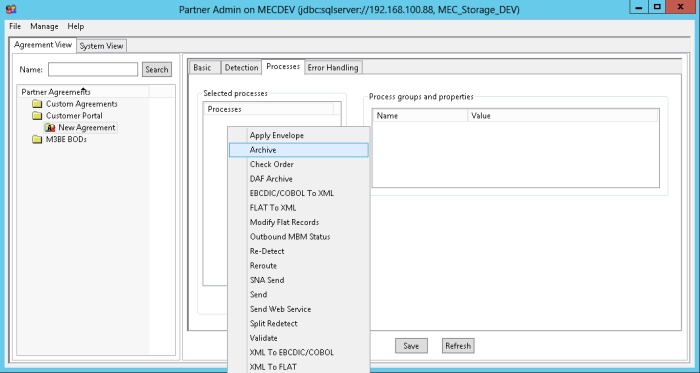
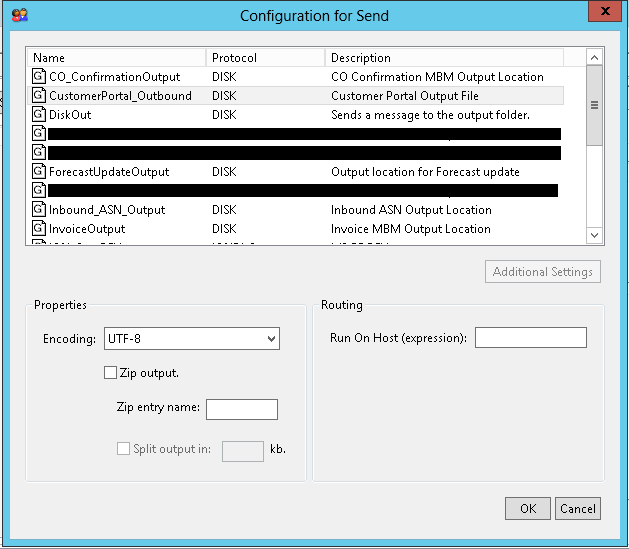
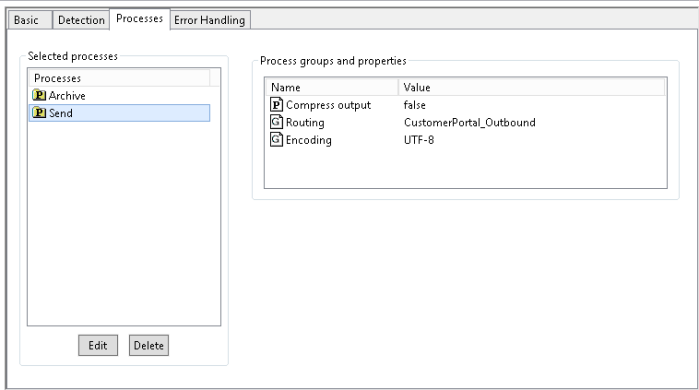
5. Add Archive and Send processes in Processes tab (refer the previous post). Drop the attached XML file in to the input channel that we configured in one of the previous posts.
Note: If XML Detection is used, it is not important to which input channel the input files are dropped. If MEC can find a agreement with correct XML Target Values, it will be triggered.
In the next post we will see how to update M3 using the messages coming from external applications.
Have a nice day…